
Reading a Star Map for the First Time Without Getting Lost

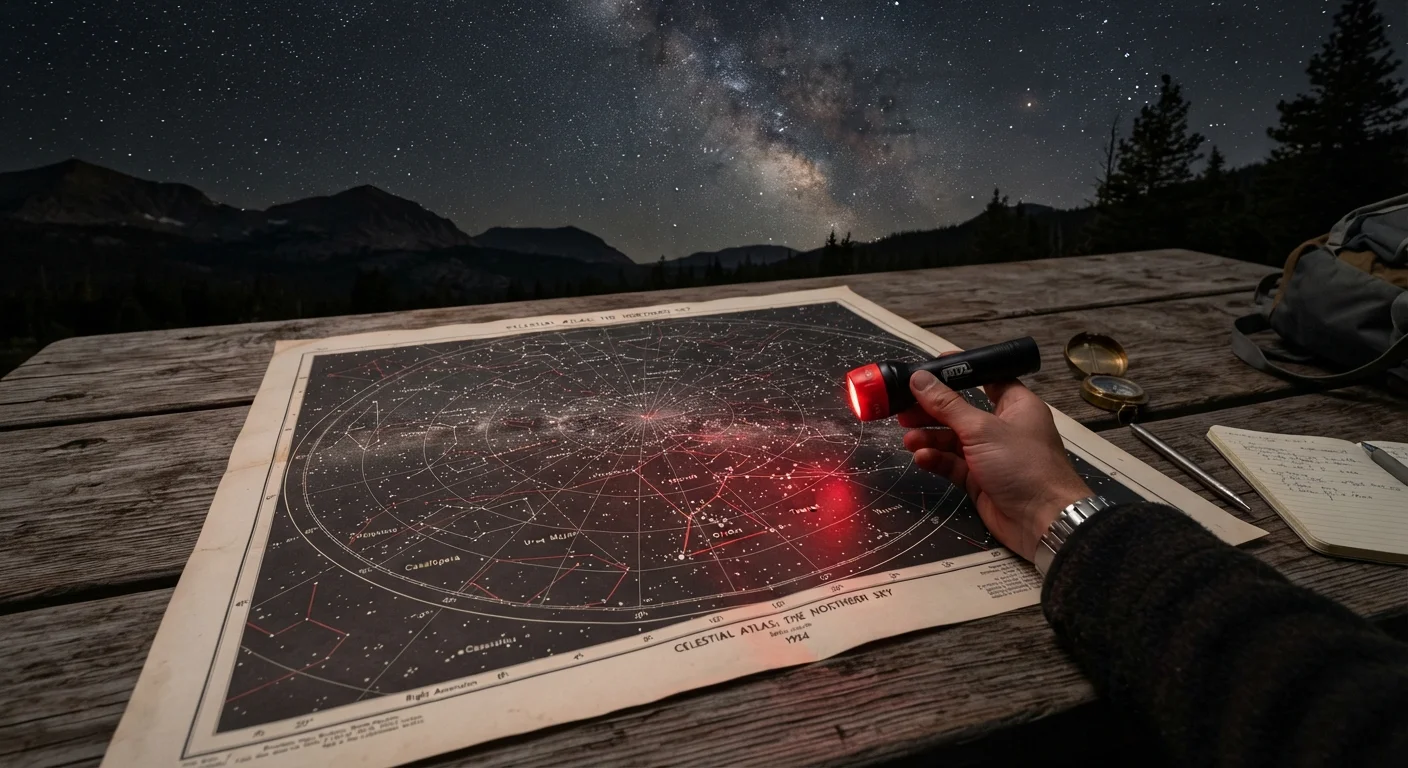
Photo: QuickAdvisor.net editorial
Key Takeaways
- Star maps use a coordinate grid similar to Earth's latitude and longitude system.
- Magnitude numbers indicate brightness - lower values mean brighter stars, with negatives being brightest.
- Always hold the map overhead facing your viewing direction, not flat like a road map.
- A red flashlight preserves dark adaptation while reading the chart outdoors.
- Start with a familiar constellation like the Big Dipper to anchor all other navigation.
Why Star Maps Look Confusing at First
A star map packs an enormous amount of information into a flat circle - thousands of stars, constellation boundaries, coordinate grid lines, and magnitude symbols all layered on top of each other. To someone opening one for the first time, it can resemble abstract art more than a navigation tool. But the visual complexity dissolves quickly once you understand the logic underneath it.
The most important concept to internalize early: a star map is a projection. It takes the curved dome of the sky and flattens it onto paper, which necessarily distorts shapes near the edges, just as world maps distort landmasses near the poles. This is why constellations near your horizon may look stretched compared to how they appear overhead. Understanding this prevents frustration when your map and sky don't match perfectly at the edges of your view.
For broader context on what you can spot once you have your bearings, our backyard stargazing guide covers planets, meteor showers, and naked-eye phenomena worth adding to your list.
What you will need
What You'll Need Before Heading Outside
Getting set up correctly before you step into the dark saves significant frustration. Below are the tools that make reading a star map practical rather than theoretical.
Planisphere (rotating star wheel)
Lets you dial in your date and time to display only the stars visible from your location at that moment.
Red flashlight
Provides enough light to read the map without collapsing the pupils' dark adaptation to the night sky.
Compass
Helps you identify true north so you can orient the star map correctly relative to your surroundings.
Smartphone astronomy app
Overlays constellation lines and labels on a live camera view, useful for cross-checking map readings.
You do not need a telescope for this exercise - and in fact, a telescope can complicate early navigation by narrowing your field of view before you have your bearings. The naked eye and binoculars are the best companions for a first star-map session.
Step-by-Step: Reading Your First Star Map
Follow these steps in sequence on your first outing. With a bit of practice, most of them become automatic within a few sessions.
Choose the right map for your time and place
Star maps are highly time- and location-specific. A map printed for January in New York shows a very different sky than one for July in Los Angeles. If you're using a planisphere, align the date on the outer ring with your local time. Digital apps do this automatically. Check that the map is designed for your hemisphere - maps made for the Northern Hemisphere show the North Celestial Pole and familiar constellations like Ursa Major; Southern Hemisphere maps center on the Southern Cross.
Allow your eyes to adapt to the dark
Human eyes take approximately 20-30 minutes to reach full dark adaptation, a process controlled by the eye's rod cells producing a light-sensitive pigment called rhodopsin. Exposure to white light - including your phone screen - resets this process almost instantly. Step outside, avoid bright light sources, and wait before attempting to read the sky seriously.
Orient the map to the direction you're facing
This is where most beginners go wrong. Unlike a road map, a star map is meant to be held above your head and rotated so the edge labeled with your facing direction - North, South, East, or West - points toward the horizon in that direction. If you're facing south, hold the map up with 'South' at the bottom edge closest to the horizon. The center of the map represents the zenith, the point directly overhead.
Understand the magnitude scale
Every dot on a star map has a size that corresponds to the star's apparent magnitude - a measure of how bright it looks from Earth. The scale runs counterintuitively: smaller magnitude numbers mean brighter objects. Sirius, the brightest star in the night sky, has a magnitude of about −1.46. Barely visible naked-eye stars clock in around magnitude 6. Most printed maps include a legend showing dot sizes matched to magnitude ranges - always check it before reading the chart.
Find your anchor constellation
Rather than scanning the entire sky at once, pick one well-known constellation as your starting point. In the Northern Hemisphere, the Big Dipper (part of Ursa Major) is visible year-round and serves as a signpost to Polaris and several other constellations. Orion dominates winter skies and is easy to spot by his three-star belt. Once you identify your anchor on both the map and the real sky, nearby stars and star groupings become much easier to locate by following imaginary lines outward.
Use right ascension and declination to pinpoint objects
Star maps use a celestial coordinate system that mirrors Earth's geographic grid. Declination (Dec) is equivalent to latitude - it measures how far north or south of the celestial equator an object sits, in degrees from −90° to +90°. Right ascension (RA) is the celestial equivalent of longitude, measured in hours (0h to 24h) rather than degrees because the sky appears to rotate overhead. When an observing guide says a nebula is at RA 5h 35m, Dec −5°, you can locate that point on the grid just as you would find a city on a road map. For more astronomy vocabulary, see our space terminology reference.
Common Mistakes and How to Avoid Them
Even with the right map and tools, a few recurring errors trip up beginners. The most common is holding the map flat at waist level - the same way you'd read a street map - which makes matching stars to the chart nearly impossible. Always hold it overhead and rotated to your facing direction.
A second frequent issue is expecting perfect matches. Light pollution, atmospheric haze, and the naked eye's limited range all mean you will see fewer stars than the map shows. Focus on the brightest, clearly plotted objects first and work your way toward fainter ones as your confidence grows.
Practice During Twilight First
Finally, many beginners underestimate how disorienting seasonal sky changes can be. The constellations visible in summer are almost entirely different from those in winter, because as Earth orbits the Sun, our nighttime side faces a different region of space. If your map suddenly seems completely wrong, double-check that the date and time settings match your session.
The content on this site is for informational purposes only and is not a substitute for professional advice. Always consult a qualified professional for guidance specific to your situation.