
Before You Buy: A Framework for Evaluating Any Product

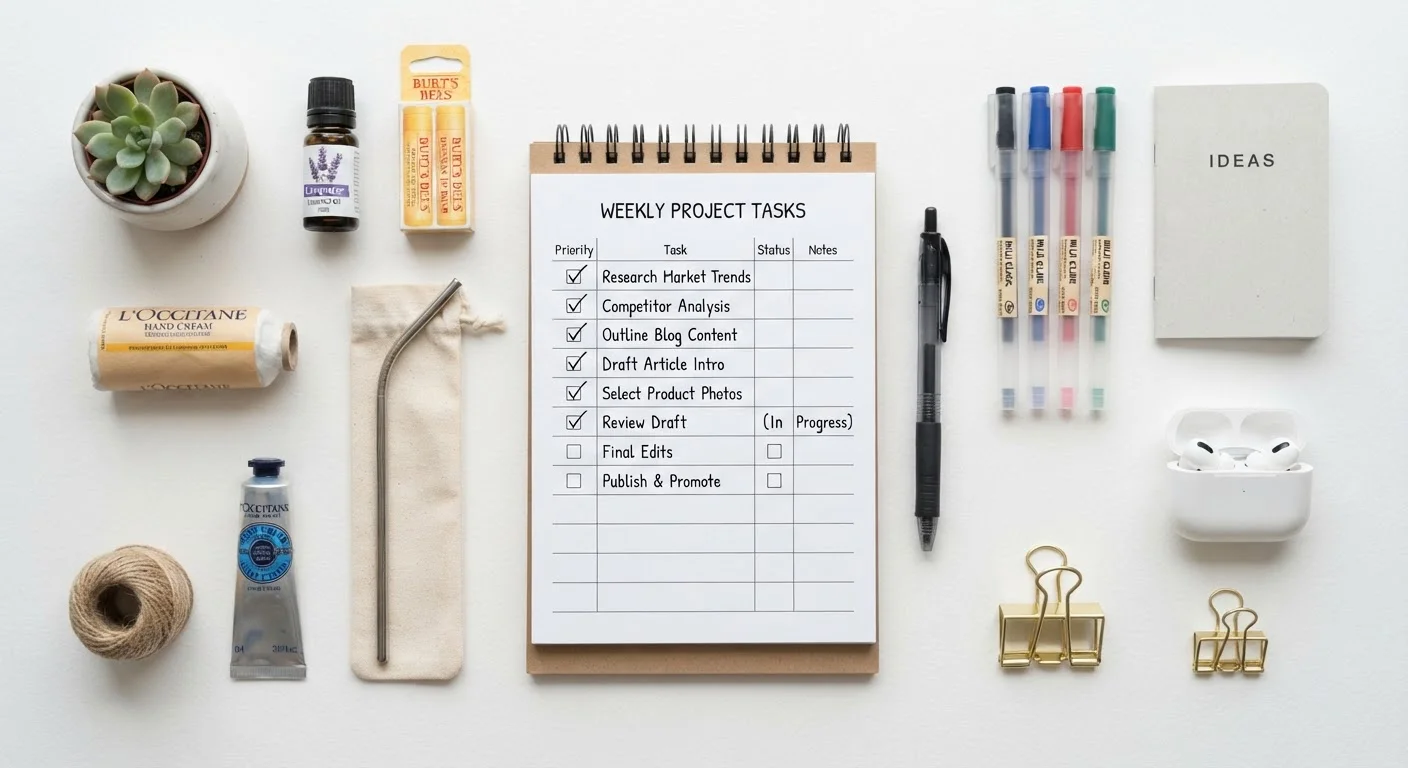
Photo: QuickAdvisor.net editorial
Key Takeaways
- Start with the job you need done, not the product that sounds impressive.
- Spec sheets are marketing documents - learn which numbers actually predict real-world performance.
- Total cost of ownership nearly always exceeds the sticker price.
- Verified user reviews from long-term owners outweigh first-impression write-ups.
- A repeatable framework protects you regardless of product category or price point.
Why Most Purchase Decisions Go Wrong
Most bad purchases share a common origin: the buyer evaluated the product instead of the problem. Marketing is engineered to keep you focused on features, aesthetics, and price - the variables brands control - rather than on whether the thing will actually serve your specific situation.
The result is a predictable cycle: an exciting purchase, mild disappointment in week two, a drawer or closet where unused items accumulate. The fix isn't willpower; it's process. The five-step framework below gives you a repeatable structure for sizing up any product - a $15 kitchen gadget, a $400 power tool, or a major vehicle accessory - before committing money you can't easily get back.
For a broader look at the habits behind smarter spending, the Smarter Spending hub covers budgeting and comparison strategies that pair well with this framework.
Write It Down Before You Search
Step 1 - Define the Job, Not the Product
Before you look at a single product listing, write down - in plain language - what you need the product to do. Not what category it belongs to, but the specific outcome you're hiring it to produce. "I need to keep coffee hot for three hours during a commute" is a job. "I want a nice travel mug" is a vague desire that manufacturers love because it gives them room to sell you on style over substance.
A well-defined job statement has three parts: the task, the context, and the constraint. Once you have those, you have a filter. Anything that doesn't plausibly satisfy all three doesn't belong in your consideration set, no matter how good the marketing copy is.
This step also prevents scope creep - the tendency to upgrade your requirements mid-search because you saw a product with appealing bonus features. If you didn't need the feature before you saw it, scrutinize hard whether you actually need it now. The feature creep article explains why extra features often reduce - not increase - real-world value.
Step 2 - Pressure-Test the Specs
Specifications are presented as objective data, but they're selected and framed by the manufacturer. A vacuum with "2,400W of suction power" sounds impressive; watts measure electrical input, not actual suction. A mattress listed at "CertiPUR-US certified foam" meets a real standard - but only for chemical safety, not comfort or durability.
For every spec, ask two questions: What does this number actually measure? And what does it predict about the outcome I care about? If the link between the spec and your job statement is unclear, treat the number as decoration until you find independent confirmation.
Independent testing organizations, engineering forums, and category-specific communities often publish spec translations that marketers would prefer you never read. Seek them out. Our guide to reading product spec sheets walks through the specific figures that matter - and those you can safely ignore - across common product categories.
When evaluating specs, search the model number plus 'teardown' or 'review' on independent forums - engineers and enthusiasts often publish component-level analysis that no retailer will show you.
Before any significant purchase, search the product name alongside the word 'recall' and the relevant regulatory body (such as the CPSC for consumer products) to check for safety actions.
Step 3 - Assess Build Quality and Longevity
You don't need specialized equipment to judge how well something is made. Material choices, tolerances, finish consistency, and the quality of fasteners are all visible or testable without a lab. Plastic that flexes under hand pressure, seams that don't align, or coating that scratches with a fingernail are signals that will scale up over months of real use.
Look at stress points specifically - hinges, connectors, handles, and any area that takes repeated mechanical load. These are where manufacturers commonly cut costs, because they're less visible in product photos. If you can evaluate a physical unit before buying, do so; if you're buying online, look for close-up photos of joints and hardware, not just glamour shots.
For a structured approach to these hands-on checks, see evaluating build quality without specialized tools. It covers practical tests that work regardless of product category.
Step 4 - Map Total Cost of Ownership
The purchase price is one line in what is actually a multi-line ledger. Before committing, map out every cost the product will generate over its realistic lifespan: consumables (filters, blades, cartridges), maintenance, replacement parts, required accessories, subscriptions, and disposal.
~33%
Products returned due to unmet expectations
Industry estimates suggest roughly one in three non-grocery retail returns occur because the product didn't perform as expected, not because it was defective.
2-3x
Typical total cost vs. sticker price over product lifespan
Consumer research across categories like printers, appliances, and power tools consistently finds that lifetime operating costs multiply the initial purchase price by two to three times.
A product that costs less upfront but requires expensive proprietary consumables can easily end up costing more over two years than a pricier alternative with standard, inexpensive replacements. Run the math on a per-year basis, not a per-purchase basis.
Also factor in the cost of failure. A cheap product that needs replacing in 18 months has a higher annualized cost than it first appears. This calculation matters most for products you'll use frequently or depend on - the arithmetic is less critical for occasional-use items where durability pressure is lower.
Step 5 - Stress-Test with Real User Evidence
Marketing copy and even professional reviews often capture early impressions. What you need is evidence from people who have owned the product long enough for its flaws to surface - typically six months to a year of regular use.
Filter reviews by the most critical ratings first - not to be swayed by negativity, but because recurring complaints across independent reviewers reveal patterns that five-star averages obscure. A single complaint about a broken latch is noise. Forty complaints about the same latch, filed across multiple platforms at the three-month mark, is signal.
Look for reviews that describe use conditions similar to yours. Heavy daily use in a professional context is not the same as light weekend use. Reviewer context determines whether their experience is a data point for your situation or an irrelevant one. The pre-purchase product assessment checklist can help you organize what you find into a clear go/no-go summary.
Putting the Framework Together
The five steps - define the job, pressure-test specs, assess build quality, map total cost, and verify with real user evidence - are designed to work in sequence. Each step narrows the field before the next one runs. By the time you've worked through all five, you've applied more structured scrutiny than most buyers bring to purchases ten times more expensive.
The framework scales. Use it fully for significant purchases; compress it to the two or three most relevant steps for lower-stakes decisions. The pre-purchase checklist is a useful quick-reference companion for those faster calls.
The goal isn't to make purchasing harder. It's to make regret less likely - so that when you do spend, you do so with the kind of confidence that comes from having asked the right questions in the right order.
The content on this site is for informational purposes only and is not a substitute for professional advice. Always consult a qualified professional for guidance specific to your situation.