
Knife Skills Every Home Cook Should Know Before Anything Else

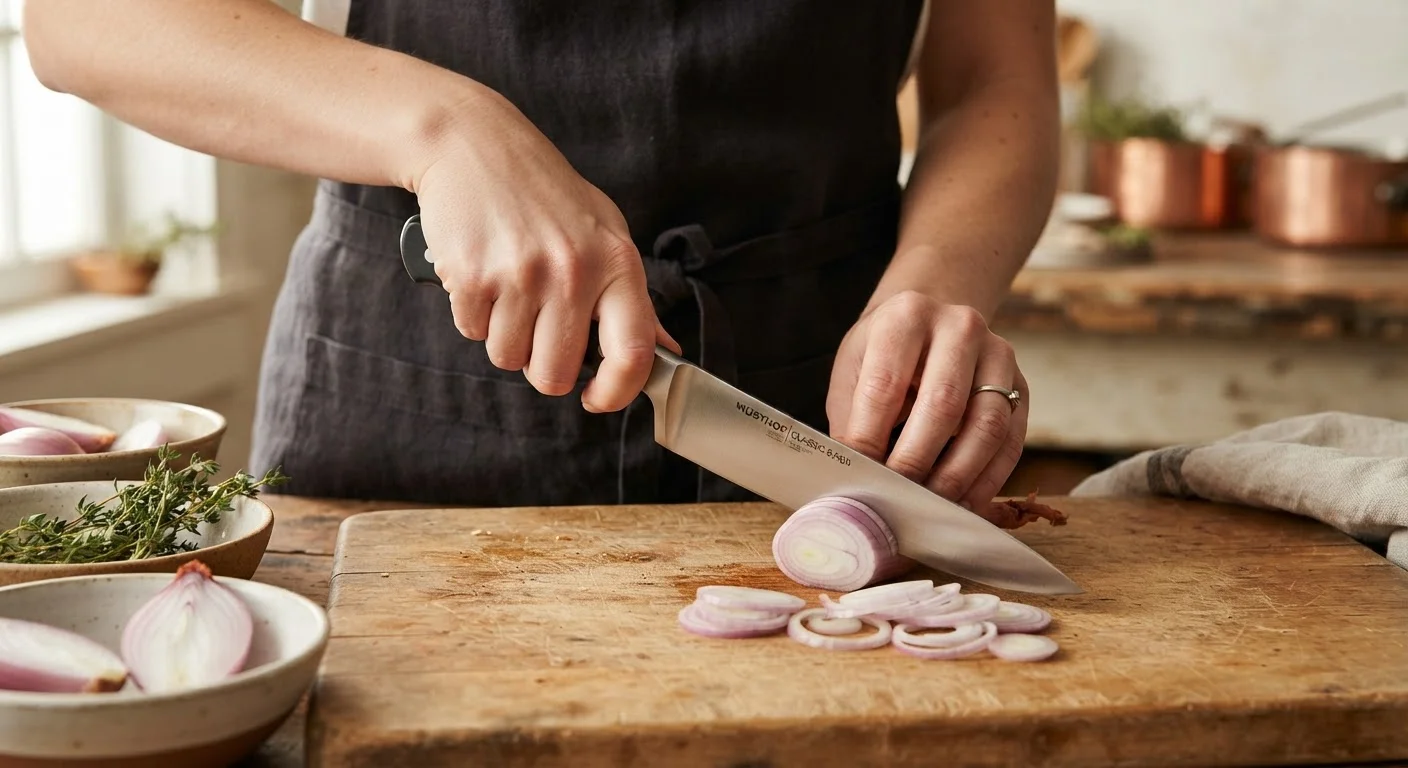
Photo: QuickAdvisor.net editorial
Key Takeaways
- A proper pinch grip on the blade - not the handle - delivers control and reduces fatigue.
- The claw hand position protects your fingers while guiding food consistently through every cut.
- Most prep problems stem from a dull knife, not poor technique - sharpness matters more than speed.
- Four core cuts cover the vast majority of recipe requirements for home cooks.
- Stable surface and correct board height are foundational to safe, efficient knife work.
Why Knife Skills Come Before Everything Else
Every recipe starts with prep, and virtually all prep starts with a knife. Uneven cuts mean uneven cooking - thick vegetable pieces remain raw while thin ones turn mushy. Slow, inefficient chopping throws off timing when multiple components need to come together at once. And poor technique is directly tied to injury risk.
Knife skills aren't a refinement you add after learning to cook. They're the foundation on which everything else is built. As noted in our complete beginner's guide to cooking from scratch, handling a knife confidently is one of the first competencies any new cook should develop - before tackling recipes, before worrying about heat control, and certainly before worrying about speed.
The good news: foundational knife technique is learnable in a single focused session. What follows is what actually matters.
What you will need
Tools You Need (and One You Don't)
You don't need a full knife block. Most home cooks need exactly two knives: a chef's knife for the majority of tasks and a paring knife for precision work. Everything else is situational. What you do need is for those knives to be sharp - a honing steel used consistently before each session maintains the edge, while occasional sharpening restores it when honing is no longer enough.
The cutting board matters more than most cooks expect. A board that's too small forces you to constantly reposition food, and one that slides is a safety issue. Spend as much attention on your board setup as on the knife itself.
8-inch Chef's Knife
The primary cutting tool used for slicing, dicing, and chopping across all techniques in this guide.
Honing Steel
Realigns the knife edge between uses, maintaining cutting performance without removing metal.
Large Cutting Board (at least 12×18 inches)
Provides a stable, roomy surface that prevents food from sliding off mid-cut.
Paring Knife
Handles precision tasks like peeling, trimming, and intricate cuts that a chef's knife is too large for.
The Core Techniques, Step by Step
The six steps below build on each other in sequence. Work through them in order the first time, using a carrot or onion as your practice subject. Once the grip and claw feel automatic, the cuts follow naturally.
Set Up a Safe, Stable Workspace
Place your cutting board on a damp kitchen towel or a non-slip mat. A board that shifts mid-cut is a genuine hazard. Position the board at a height where your elbows are slightly bent - roughly at hip level. If your counters are too low, a sturdy shelf or thick board riser can help. Before picking up the knife, confirm your food is rinsed and reasonably dry; wet produce slips far more than dry.
Learn the Pinch Grip
Most beginners wrap all four fingers around the handle. Instead, use the pinch grip: pinch the blade itself between your thumb and the side of your index finger, just ahead of the bolster (the thick band where blade meets handle). Your remaining three fingers curl around the handle for support. This positions your hand closer to the blade's center of gravity, dramatically improving control and reducing wrist fatigue during longer prep sessions.
Form the Claw Hand Position
Your non-dominant hand holds and guides the food. Curl your fingertips under so your knuckles form a vertical wall facing the blade. The knife's flat side rests lightly against those knuckles as you cut - this contact guides your slices and physically prevents the blade from reaching your fingertips. Move the claw backward in small, controlled increments after each cut to advance the food through the blade's path.
Practice the Basic Slice
A slice uses the full length of the blade in a smooth forward-and-down motion - not a straight chop. Start with the tip of the knife near the board, then draw the blade forward and down through the food. Let the weight of the knife do most of the work. Consistent slices require consistent claw movement: advance the food the same distance each time for uniform thickness, which matters enormously for even cooking.
Master the Dice
A dice is simply organized slicing. For most vegetables, start by cutting the item into planks of your target thickness, then stack those planks and cut into sticks (called a julienne), then rotate 90° and cut across the sticks to produce cubes. Recipe terms like small dice (¼ inch), medium dice (½ inch), and large dice (¾ inch) describe the cube size. Onions follow a slightly different path - halve through the root, make horizontal cuts toward (but not through) the root, vertical cuts down, then slice across - but the principle of building structure before cutting across it is the same.
Learn the Chiffonade for Herbs and Leafy Greens
A chiffonade (shif-uh-NAHD) produces thin, ribbon-like strips from flat leaves - basil, mint, and spinach are common examples. Stack the leaves with the largest on the outside, roll them into a tight cylinder lengthwise, then slice across the roll with smooth forward-draw strokes. The result is delicate, uniform ribbons that hold their shape rather than bruising into a dark, clumped mass. This technique also scales to larger greens like kale.
These four cuts - slice, dice, julienne, and chiffonade - cover the prep requirements of the overwhelming majority of home recipes. Once they're reliable, you can follow almost any recipe's prep instructions without hesitation. For a broader look at how to organize your prep before cooking begins, see our mise en place prep checklist.
A Dull Knife Is More Dangerous Than a Sharp One
Common Mistakes and How to Recognize Them
The most common error is gripping too high on the handle, which reduces blade control and increases wrist strain. If your cuts feel wobbly or inconsistent, check your grip first. The second most common is failing to use the claw - many cooks extend their fingertips out of habit or nervousness, which removes the mechanical protection the claw provides.
Uneven dice usually trace back to inconsistent plank thickness at the first cut. Slow down at that step specifically - the accuracy of every subsequent cut depends on how uniform those initial planks are.
Speed Follows Technique - Not the Other Way Around
If you're working through broader kitchen fundamentals alongside knife skills, reading a recipe the way a trained cook does is a natural companion skill - understanding what a recipe actually asks for before you start chopping prevents a lot of wasted prep work.
The content on this site is for informational purposes only and is not a substitute for professional advice. Always consult a qualified professional for guidance specific to your situation.